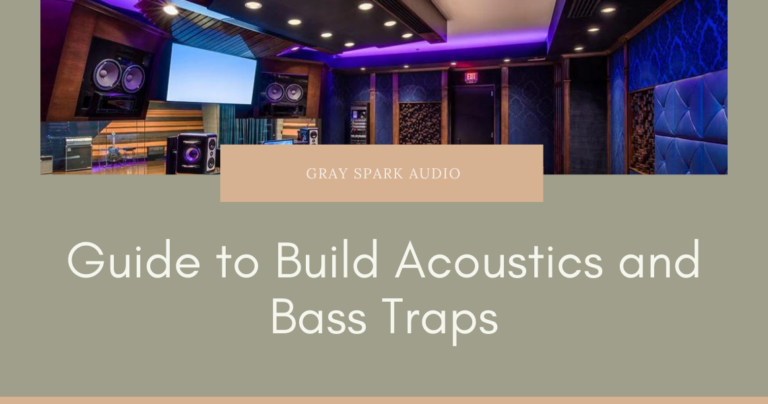

In the world of music production, creating a pristine and professional sound is paramount. One often overlooked aspect that can significantly impact the quality of your recordings is the acoustic environment of your home studio. In this guide, we’ll delve into the art of designing acoustics and incorporating bass traps to elevate your recording space to new heights.
Understanding the Importance of Acoustics
Before delving into the nitty-gritty of acoustic design, it’s crucial to comprehend why acoustics matter in the first place. The acoustics of a room directly influence how sound waves behave, affecting the clarity and accuracy of the audio you capture. Without proper acoustics, your recordings may suffer from unwanted echoes, reverberations, and distortions.
Designing Acoustics for Your Home Studio
1
Room Shape and Size
- Begin by considering the dimensions of your room. Irregularly shaped rooms can lead to standing waves and uneven sound distribution. Aim for a room that is rectangular or has symmetrical dimensions.
- Larger rooms generally have less pronounced resonances, but size alone won’t solve all acoustic issues. The goal is to strike a balance between spaciousness and controlled reverberation.
2
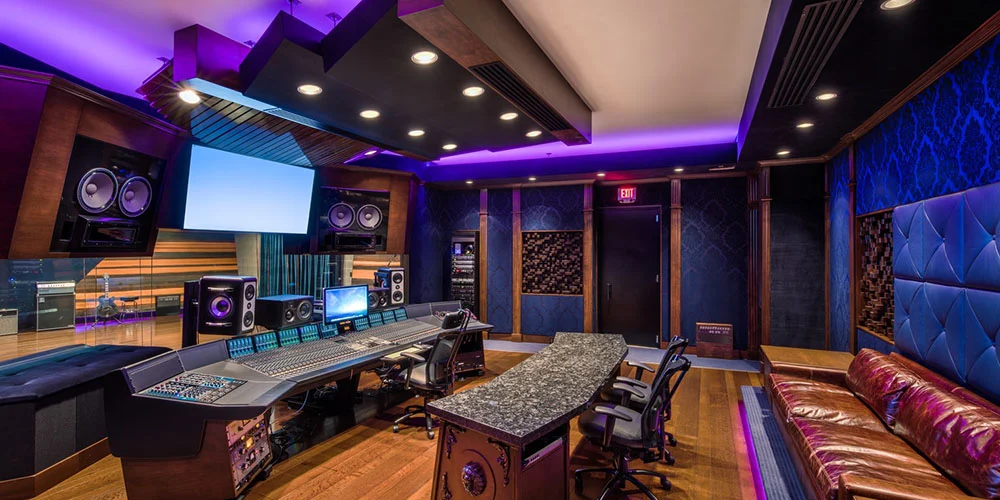
Material Selection
- Choose materials for your studio that absorb, diffuse, and reflect sound appropriately. Acoustic panels made from materials like foam, fiberglass, or rockwool can help control reflections and tame unwanted frequencies.
- Pay attention to the flooring as well. Carpets or rugs can add an extra layer of absorption, reducing the impact of sound reflections.
3
Ceiling Clouds and Diffusers:
- Consider installing ceiling clouds to absorb sound reflections from above. These suspended panels are particularly effective in preventing sound from bouncing off the ceiling and interfering with your recordings.
- Diffusers, strategically placed on walls, disperse sound waves in various directions, minimizing direct reflections and creating a more balanced acoustic environment
Incorporating Bass Traps
Bass frequencies, being longer wavelengths, tend to accumulate in room corners, leading to a phenomenon known as “room modes.” Addressing this low-frequency buildup is essential for achieving a well-balanced sound in your recordings.
1
Placement of Bass Traps:
- Identify the corners of your room where bass frequencies tend to congregate. Placing bass traps in these corners helps to absorb and control low-frequency energy, preventing it from muddying your recordings.
- Consider using bass traps with a range that extends to the lower frequencies, ensuring comprehensive coverage.
2
Types of Bass Traps:
- There are various types of bass traps available, including porous absorbers, membrane absorbers, and Helmholtz resonators. The choice of bass trap depends on the specific characteristics of your room and the frequency range you aim to address.
Creating a home studio with impeccable acoustics is a journey that requires careful planning and execution. By understanding the principles of acoustic design and strategically implementing bass traps, you can transform your space into an environment where every note is captured with precision and clarity. Invest the time and effort into perfecting your studio’s acoustics, and your recordings will undoubtedly reflect the dedication to your craft. Check out our Room Dimension Calculator and Speaker Placement Tool.
Get in touch!
If you have any other questions you would like us to Answer, just shoot us a mail at ronak@gray-spark.com.
Exclusive