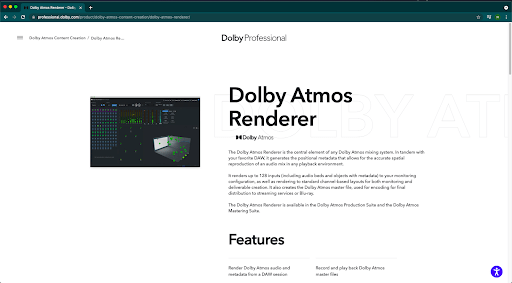
In this post today I will walk you through the process of setting up the Dolby Atmos Renderer and how to effectively use it with Pro Tools. The setup process is pretty simple and we will go through all the steps one by one.
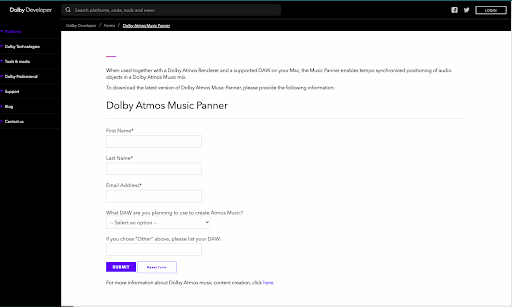
Download the Dolby Atmos Renderer and the Dolby Music Panner from the website: https://developer.dolby.com/forms/dolby-atmos-music-panner/
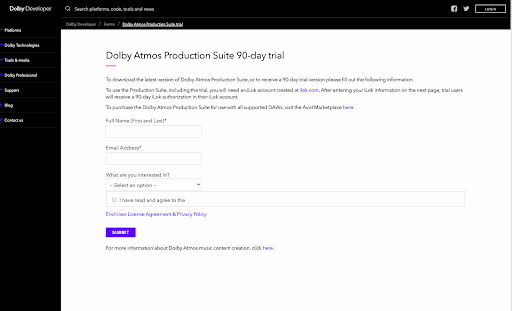
Dolby is currently offering a 90 day free trial for new users. You can access them here: https://developer.dolby.com/forms/dolby-atmos-production-suite-trial/
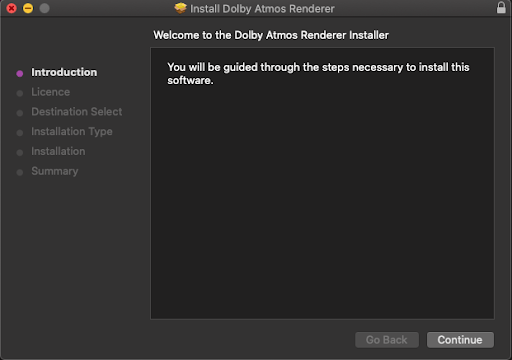
Step 2
Install the Renderer
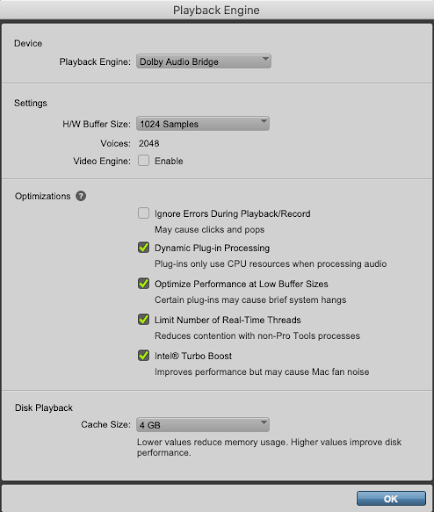
Step 3
Set the Playback Engine of Pro Tools to “Dolby Audio Bridge”
Step 4
Open the Renderer and go to the settings and change the input of the Renderer to “Dolby Audio Bridge”
Step 5
Change the Output to your given Audio Interface “HD Native Thunderbolt”
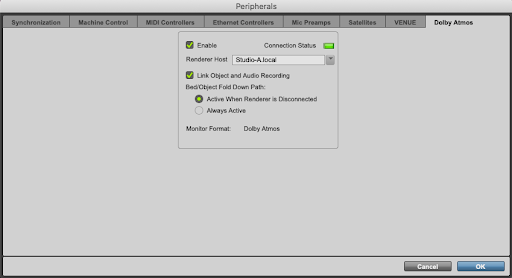
Step 6
Go to Setup – Peripherals and make sure that the Dolby Audio Renderer is connected as a Peripheral in Pro Tools
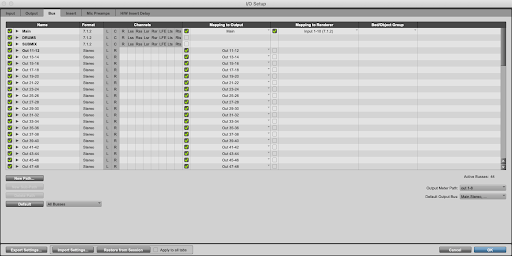
Step 7
Go to Setup – I/O – Outputs and create a new 10 channel or a 7.1.2 Output and in the bus section route it to the renderer
Step 8
Import Audio Tracks into your session and route them to a 7.1.2 Submix
Step 9
Set the output of your Submix to the 7.1.2 output that is mapped to the renderer
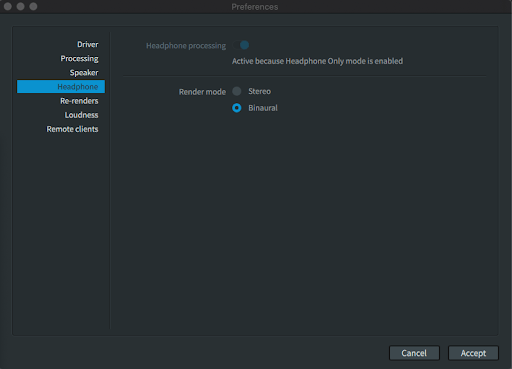
Step 10
Go to the setting of the Dolby Audio Renderer and change the setting in the speaker section to headphone only mode and set the renderer setting to “Binaural”
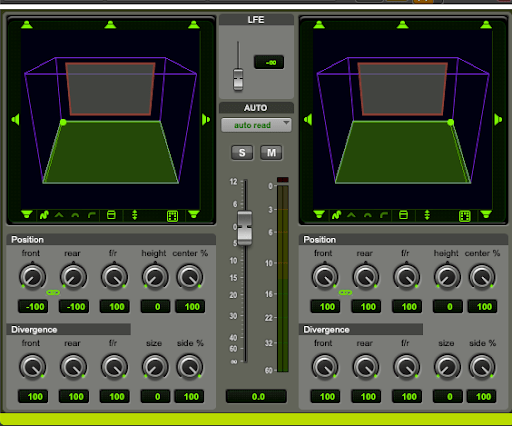
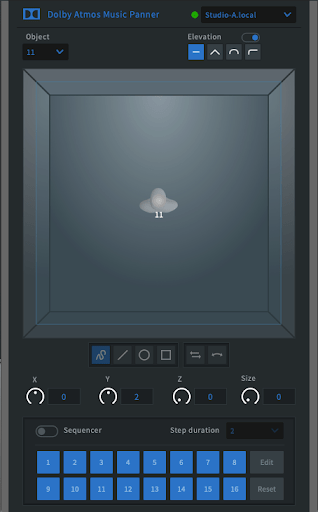
Step 11
Now using the Panner you should be able to place sounds around you using the Encoder, which will take the placement of sound from your DAW and render it to feel like it was placed behind you if you hear it through your headphones.
Get in touch!
If you guys have another other questions you would like to shoot at me, just shoot me a mail at ronak@gray-spark.com.