

As a guitar player, it’s essential to have effective practice routines in order to improve your skills and enhance your overall performance. While practicing at home, there are various methods you can use to enhance your practice sessions and make the most out of your practice time.
The oldest guitars are from Persia (modern-day Iran), about 3,500 years ago, and were called “Tanbur”.

Step no. 1
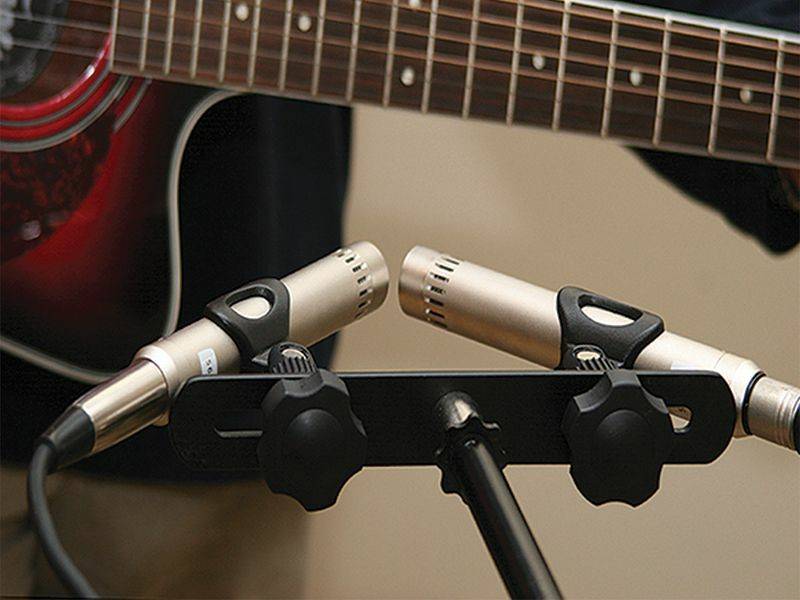
Practicing with Amps
When practicing at home, many guitar players use amps to amplify their sound. This allows them to hear their playing clearly and make adjustments to their tone. Some guitar players even connect their amps to their computers through an interface to play back their practice sessions.
Step no. 2
Playing with Backing Tracks
Another popular method of practicing at home is playing along with backing tracks. Many guitar players utilize online platforms such as YouTube to find backing tracks that complement their playing style. This allows them to practice playing in different musical contexts and develop their improvisation skills.
Step no. 2
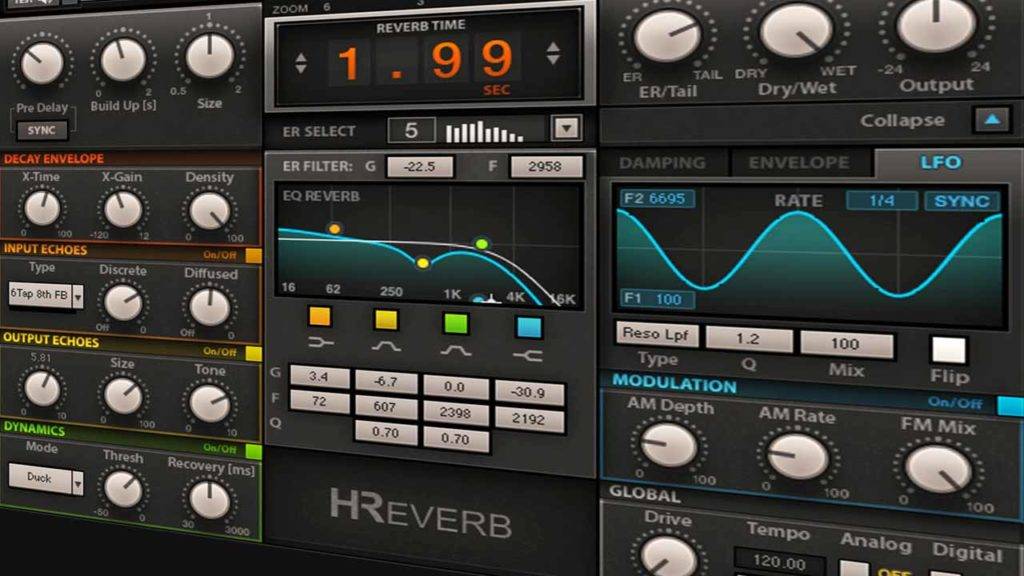
Dialing in Your Tones
When practicing on your own, it’s common for guitar players to focus on dialing in their tones. This involves adjusting the settings on their amps or processors to achieve the desired sound. Experimenting with different EQ settings, adding effects, and finding the right balance between low and high frequencies are key aspects of dialing in your tones.

Step no. 3
Considerations for Live Performances
While practicing at home, it’s important to keep in mind that the sound you create in a live performance may differ from what you hear in isolation. When performing on stage, your guitar tone needs to blend well with the rest of the band and the overall mix. It’s crucial to consider how your tone will sound in the context of a live performance and make adjustments accordingly.
Step no. 4
Creating HighQuality Backing Tracks
One of the main challenges for live performances is replicating the high production quality of studio recorded songs. To overcome this challenge, it’s recommended to request both mixed and unmixed raw stems of your recorded songs. Having access to these stems allows you to create high quality backing tracks that accurately represent your studio recordings.
Step no. 5
Using Digital Audio Workstations (DAWs)
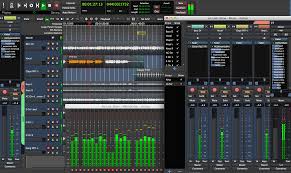
With the help of digital audio workstations (DAWs), you can import the stems of your songs and create high quality backing tracks. By muting certain instruments and dialing in the settings for the instruments you’ll be playing live, you can achieve the desired tone and balance for your performances.
Step no. 6
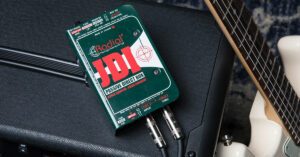
Optimizing Your Guitar Tone
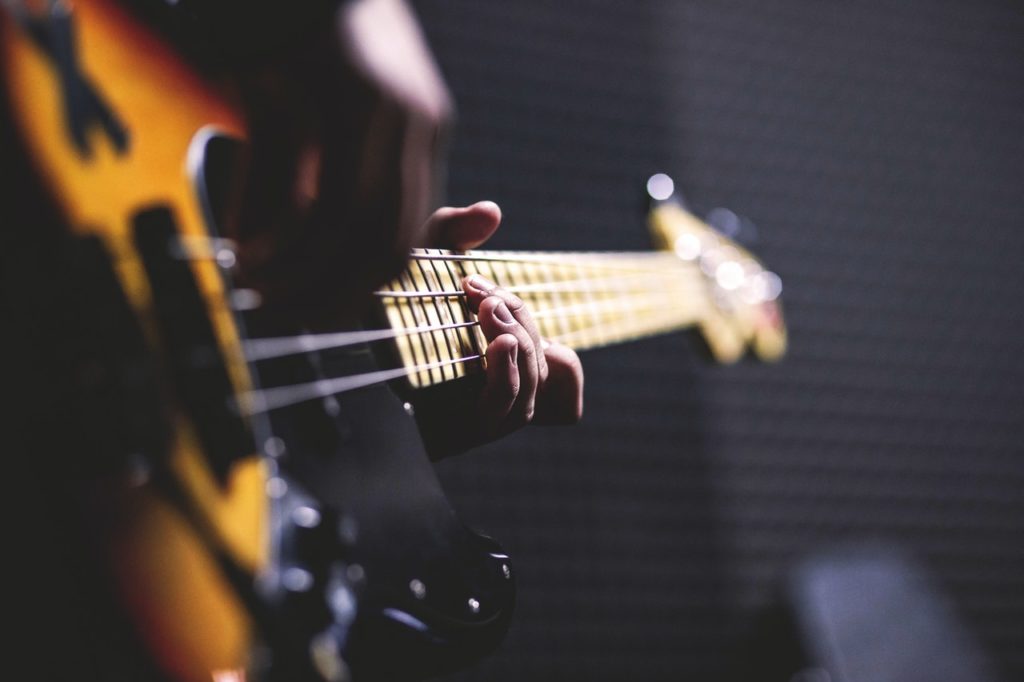
When it comes to guitar tones, it’s important to consider the specific elements that contribute to your overall sound. Electric guitars typically go through a processor or pedalboard before being connected to the console. This allows you to alter your tone by adding effects, such as distortion or time based effects.
Step no. 7
Adjusting EQ Settings
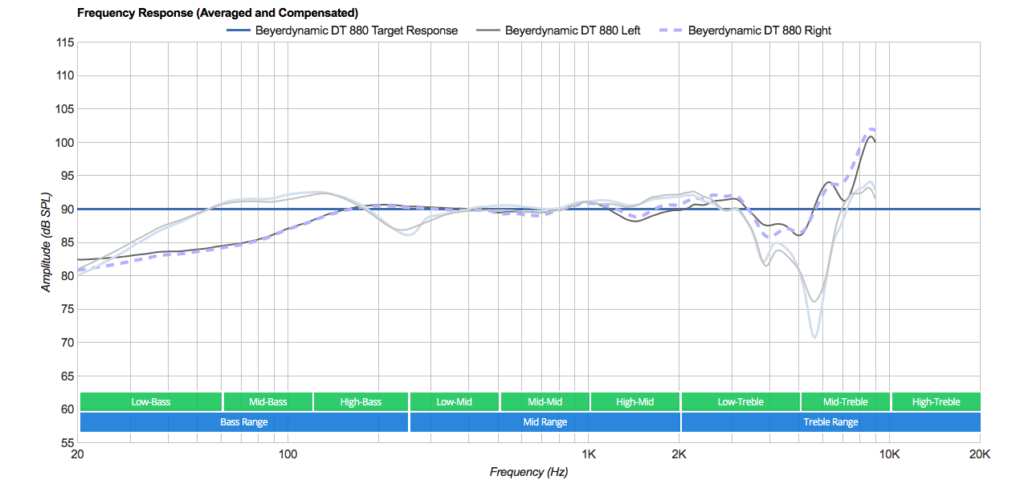
When dialing in your guitar tone, it’s crucial to pay attention to the EQ settings. This involves cutting or boosting certain frequencies to achieve the desired tonal balance. By experimenting with different EQ settings, you can shape your tone to fit seamlessly into the overall mix of the band.
Step no. 8
Creating a Balanced Mix
When performing live, it’s important to ensure that all the elements in your mix are balanced. This includes not only your guitar tone but also the bass, drums, vocals, and any other instruments that are part of your performance. By practicing with your backing tracks and adjusting the volume levels of each element, you can create a balanced mix that sounds cohesive and professional.
Step no. 9
Using InEar Monitors
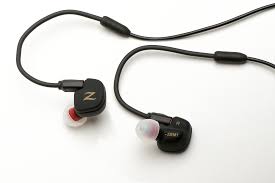
In Ear monitors are an excellent tool for achieving a balanced mix on stage. They provide individualized mixes for each band member, allowing them to hear their instruments and vocals clearly. In ear monitors also eliminate the need for stage monitors, resulting in a cleaner and more controlled sound on stage.
Step no. 10
Communicating with the Sound Engineer
During live performances, it’s crucial to have effective communication with the sound engineer. This ensures that your mix is adjusted properly and that any technical difficulties are resolved quickly. Many bands utilize a separate microphone for communication with the sound engineer, allowing for seamless communication during the show.

Step no. 11
Building a Team
To achieve the best possible sound during live performances, it’s advisable to build a team that includes a competent sound engineer. Having an experienced engineer who understands your music and preferences can greatly enhance your live sound and overall performance quality. It’s important to treat your engineer as an integral part of the band and involve them in rehearsals and practice sessions.
Practicing at home as a guitar player can be a rewarding and productive experience. By utilizing amps, playing with backing tracks, and dialing in your tones, you can enhance your practice sessions and prepare for live performances. It’s important to consider the specific requirements of live performances and create high quality backing tracks that accurately represent your studio recordings. With the right equipment and communication with your sound engineer, you can achieve a balanced mix and deliver outstanding performances.
Get in touch!
If you guys have another other questions you would like to shoot at me, just shoot me a mail at ronak@gray-spark.com.
Exclusive